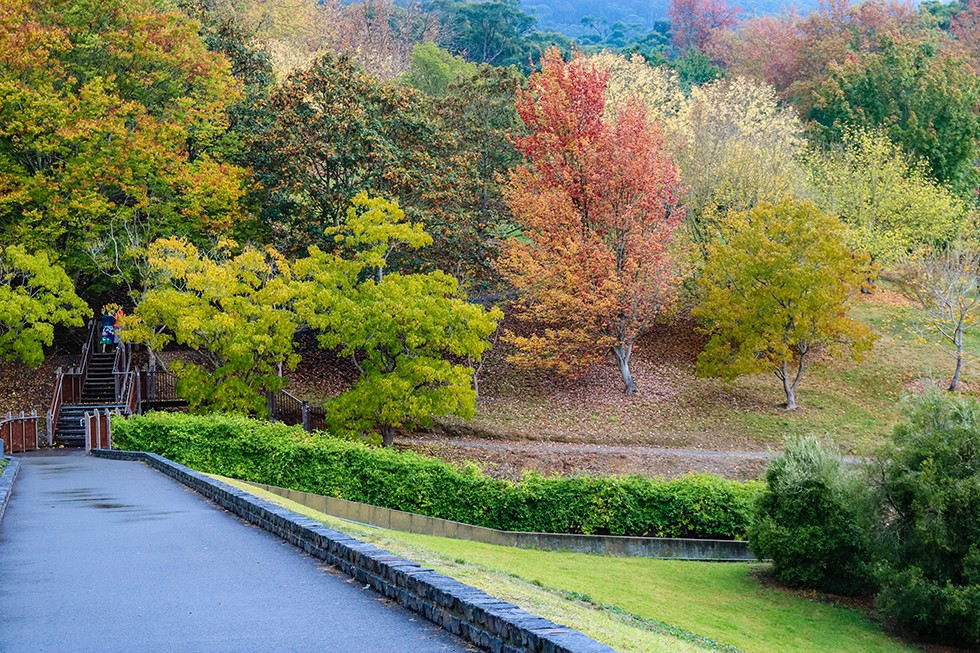
She told me she felt reluctant to post more frequently on Instagram because she didn’t have the time to create good photos. Sitting on the other end, with a trick of 3 clicks in Lightroom that helps me create better photos instantly, I felt like I had to say something and end her agony.
She was simply lacking the knowledge to address her problem and move forward. So I want to do the same here. I hope that I can provide you with enough information, that you can recreate this process for yourself and not fear that editing your photos for social media is a long and difficult task. Or for any other use, for that matter.
[Tweet “#Edit your #photos so they are clear and vivid in just 3 clicks”]
If you have access to Adobe Lightroom because you’re an Adobe Cloud subscriber, then definitely make use of the awesomeness available to you. However, if you don’t, and you use an alternative application to edit your photos, then you can get clever and resourceful about this, and follow along and use the equivalent of the Adobe Lightroom presets to the settings in your editing application of choice.
Presets just make your life so simple for photo editing, especially if you’ve found a few that resonate and reflect the style and personality you want to portray as a photographer or a social media account.
Also don’t be afraid of the term ‘preset’. It’s essentially what the average person would refer to as a filter. Under the hood, they are essentially a combination of custom set values for settings like exposure, contrast, brightness, saturation, vibrancy etc, that have been conveniently made available to you with a single click.
[Tweet “Follow this 3 click #adobe #lightroom #photo #editing workflow for quick results”]In my photo editing workflow, the Adobe Lightroom default presets are what I use to ‘colour correct’ my photos. And the VSCO presets are what I use to ‘stylise’ my photos by creating a particular mood with the use of warm or cool presets.
The three Adobe Lightroom default presets I use, and the order in which I apply them are as follows:
1 – Preset ‘Direct Positive’ under ‘Lightroom Color Presets’
2 – Preset ‘Medium Contrast Curve’ under ‘Lightroom General Presets’
3 – Preset ‘Punch’ under ‘Lightroom General Presets’
You have access to these categories and individual presets when you are in the Develop tab of Adobe Lightroom after you’ve imported and selected which photos to edit.

I’ve written before about the importance of going through your photo editing workflow as much as possible to gain experience and knowledge. If you adopt this advice, then you will no doubt develop your own set of go-to 3 click solution that works best for you.
All the best,
Charlie x


0 Comments