

Finishing the back of your artwork will make you more happy and willing to share your art with others. Whether that be by hanging it on your wall or passing it onto someone who will appreciate it.
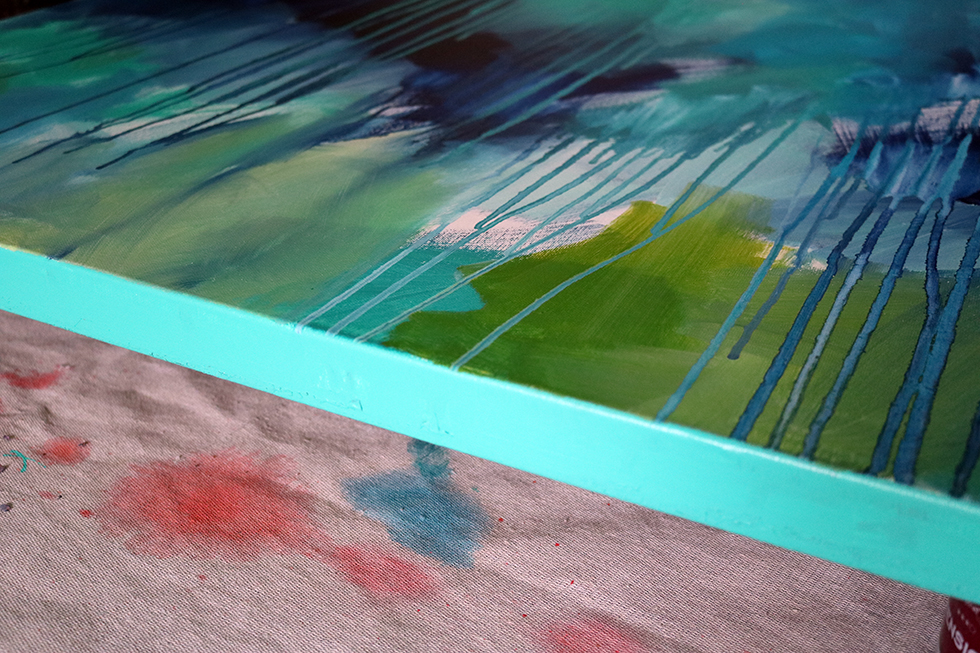
Free The Art Trapped On Your Canvas For The World To See
For the longest time, having so much of my favourite artwork on canvas panel bothered me. It felt like my art was trapped. I felt like I couldn’t display it or sell my art because the back of the canvas panel did not cut it.
Some people consider traces of the creative process on the back of the canvas beautiful. And art in itself. And on some days, I will stand with people who share this philosophy without hesitation. But with the canvas panels, I just didn’t feel this. Instead, it made me feel like it was sloppy work.
Why should the back of art be treated with any less respect?
[Tweet “Why should the back of #art be treated with any less #respect? #painting”]
Create Art From Start To Finish
I love experimenting with different art styles, techniques and effects. But, it can get both intimidating and costly, to try everything on large stretched canvas. Like any creative, artist or maker, I find myself testing ideas on surfaces that have a small price tag. But, a small initial price tag doesn’t mean cost effective in the long run.
At first, it may be more affordable to buy canvas paper than stretched canvas. But, as you finalise your artwork, you may find the added costs, now exceed the initial cost of stretched canvas.
Creating art from start to finish has definitely made me aware of these little (but important!) details.
Finish The Back Of Your Art
Finishing the back of the art on stretched canvas, or canvas panels is definitely a personal preference. You can, by all means, leap past this process. Or you can adopt the bits and pieces that align with your vision of what completed art should look like. Endeavour to always make progress towards your own personal goals.
It’s only recently that I’ve felt that I’ve squared away how I want the back to look. So that I can be proud to say, yep I made that art on that canvas panel.

Process To Finish Art on Canvas Panel
In what feels like forever, I have been pondering how best to finish the back of these canvas panels. In a way that matched the vision, I had in mind. Something that looked neat, presentable and professional.
I have finally settled on what I want the back of the canvas panels to look like. And this is what I wanted to share with you in this blog post.
Canvas Panels
All the art that have made it past my ‘art critic’ filter, are all on Mont Marte canvas panels. I don’t necessarily have a preference for Mont Marte canvas panels. They just happen to be readily available at the art store.
The back of all Mont Marte canvas panels are branded, with space to record information about your art. If you are keen to explore your creativity, then noting the paint and techniques used is a great idea. It will serve as a great reference point in the future.
Personally, I like to record this information in a notebook. The way it looks on the back has a very elementary school feeling to it, that I’m not too fond of. It doesn’t match my vision for how I want my art to look.
Cartridge Paper
To conceal the writing on the Mont Marte canvas panels I cover the back with white cartridge paper. This also covers any dry paint residue as well.
I’ve tried both standard paper and premium paper. I’ve used sheets of cartridge paper from Spirax Drawing Sketchbooks. And I’ve also used Canson Premium Grade Paper. It doesn’t matter what type or brand of cartridge paper you use, though I always choose acid-free. What matters most, is the weight (gsm) of the paper. You need it to be heavy enough to provide the opacity to conceal what you’re hiding.
The state of your surface (how much you are trying to cover up eg. excess paint, branding text etc.) will drive the gsm you need. The more you’re trying to cover up, the more opaque you’ll want the paper to be. I’ve found that I can get away with 90 gsm, but 110 gsm provides a much cleaner look.
Adhesive
To stick the paper to the back I’ve tried the Liquitex Gloss Gel and a super non-fancy UHU stic (aka glue stick). I’m not sure why I have a German glue stick…random. But let it be known that I hate glue sticks. With a passion.
The Liquitex Gloss Gel is an acrylic medium used to increase the sheen of acrylic paint, but it’s also used in mixed media and collage work as a glue. It dries clear and transparent.
If you do use the Liquitex Gloss Gel, then use a clean brush that’s free of any dry paint. I know, what a pain, you now actually have to clean your brushes well. If you use a paint brush with dry paint, it will end up transferring to the surface. You don’t want to get dry paint trapped between the canvas panel and backing paper. It will end up creating a lumpy and an uneven result. Let it dry for 24 hours, weighed down flat with heavy books.
As for the unloved glue stick option, let it do its thing and don’t press too hard when applying. This is where I always go wrong with glue sticks. Apply it with normal hand pressure. Otherwise, you’ll end up transferring lumpy glue pieces to the surface. You want to make sure that the backing surface is smooth and not lumpy, so it looks more presentable. Otherwise, you’re not really fixing the original problem. Rather, just changing the colour of the problem.

Artists Can Also Be Perfectionists
In the past, I’ve left the canvas panel at this point. If your canvas panel represents what you had in mind, then you can definitely finalise it here.
But with mine, I was still not happy with it, but I didn’t know what else I could do or add that would look the way I had in mind. So it remained in this state for awhile.
I was reluctant to promote it on my online shop because I still felt it was not ‘perfect’. It didn’t represent something I was comfortable with and proud to showcase.
But you never know when inspiration will strike. Yes, sometimes it can take months and months. I don’t want to use the word ‘late’. This would be completely disrespectful to the creative process.
If something doesn’t feel right, acknowledge it. Respect it. Pay attention to it. Others may say it’s fine. But that’s only because it’s fine for them. Not for you. You have to honour that.
[Tweet “If something doesn’t feel right, acknowledge it. Respect it. Pay attention. #perfection #mindfulness #mindful”]
Kraft Framer’s Tape
Finally, that moment has come where I am happy with the way my art on canvas panel looks.
Introducing the Sekisui Super Kraft Tape! I’m a little excited about it…This type of tape also goes by the term picture framer’s tape and packaging tape. I actually love the fact that it’s kraft in colour. To me it has a very old school, art conservationist look and feel to it.

So this was the finishing touch. With the kraft framer’s tape, I felt like this was exactly what the back of my art needed.
Apply Kraft Tape In A Sequence For Even Better Results
It looks much more presentable to be consistent in the order you stick the tape.
I placed tape on one side. Then placed tape on the parallel (opposite side). Then finally I placed tape on the remaining sides. For the remaining sides, it doesn’t matter which you apply first.
I also made sure that I was consistent with the length of the tapes.
This allowed for a sharp square overlapped edge at the corners.
For me, it looks so much more presentable this way. Rather than inconsistent tape lengths and varying overlapping at the corners. But again, it’s all up to you, and your personal preference. Go with what feels right to you.
Charlie x
Now I want to hear from you!
What task has taken you awhile to finalise? What comes to mind when I ask you that? And did you let the solution realise itself naturally?
I feel like sometimes as a society we are in a mad rush to be ‘done’. And that we forget about the tortoise from Aesop’s Fable ‘The Tortoise and the Hare’. The one that’s slow and steady.
But the one that wins the race.
Further Reading across the Moments by Charlie BLOG
If you liked this post, some other blog posts you might like:
- Why Flow Medium Is The Most Useful Acrylic Paint Medium by Charlie Albright | Moments by Charlie
- Coloured Edge – Geometric Art by Charlie Albright | Moments by Charlie
- Be More Creative by Charlie Albright | Moments by Charlie
Art Products
Art products mentioned in the blog post that you may want to look up and try yourself:
- Mont Marte Canvas Panels
- Canson Premium Cartridge Paper
- Liquitex Gloss Gel
- Xpress It Frame Tape 24Mmx50m (alternative to Kraft Framer’s Tape )
0 Comments